Showing posts with label Quick Project. Show all posts

14 November 2012

How to say thank you?!

At the end of September when my sewing machine was still in repairs, I told a friend of mine that I was feeling "withdrawal" symptoms. The next day she brought her sewing machine over and told me: "It's not fancy at all but maybe it will bring you some joy!" 
I didn't know what to say. This was just so thoughtful and wonderful of her... 

Well, fast forward to now and I am ready to bring it back to her. But how to say thank you? I racked my brain and remembered that she admired the table mats that I made for a friend of mine last Christmas. So I looked at my scraps to find some that suit her and here is what I came up with:


But how am I going to wrap this up? I don't have a box long and thin enough to fit these four place mats!

I tied a white ribbon (salvaged from another present a long time ago!) around each of them...


... and wrapped it in red tissue paper with some blue scrap paper and tied another ribbon around it! Pretty enough :-)


I hope she will enjoy them as much as I did when I used her sewing machine! :-)

Take care,
Me

12 November 2012

Long Overdue!


Last Easter I promised my sister to make her a windowseat cushion for her cat Bully. Bully is such a loving cat which literally throws himself at your feet in order to be petted! Isn't he cute!?


This weekend I finally found the time to make this long overdue window seat cushion.

I cut two pieces of orange fabric (yup, I know... ugly!... but it's an insert!) and tufted it to ensure the stuffing was all even inside it. 


Then I made a basic pillow cover in brown corduroy. I made a teensy weensy little mistake though. I must have cut the corduroy wrong because it ended up 8" too large.


But a quick cut later, I had the right sized cover and here it is:


I prefer the look of the ugly orange insert because somehow it turned quite pretty with those tufts... The brown corduroy cover makes it functional though. Steffi can take it off to wash it whenever she needs to. And with that cat she'll need to often :-)

If I get a picture of it being used by the Bullmeister, I will post it on here right away! :-)

Take care,
Me


11 December 2011

Ruby Pillow Case

After I cut my fat quarter bundle Ruby into layer cakes and charm packs I still had 5"x1.5" scrap pieces left. I didn't want to toss them away so I sewed up a pillow case for my bed.


This is a fairly quick project. I quilted straight lines on the inside and meandered on the grey "frame". It took me 2.5 hours from start to finish.

I need to make more pillow cases for my bed :-)

What do you do with your scraps?

Take care,
Me

08 December 2011

Sending Off Mail!

I mailed presents and fabric today! One is an envelope filled with wonderful scraps and yardage for my best friend! I know she'll love it! I hope she'll post on her blog what she is making from them!


The other package is filled with this - eight placemats! My friend had always admired mine and when a PTA Christmas fundraiser (for which I made these to donate) didn't come through I decided to send them up to her as a little surprise! 


Here is a look at one of them. 


I used scraps from one of my quilts and a vintage bed sheet as the backing from the thrift store! Placemats are super quick to make (about 30 minutes per without hand sewing the binding on!) and I love giving them!

Have you made some for your table yet? Or would you like me to make you some... wink, wink! :-)

Take care,
Me


22 November 2011

Another Pillow!

My mom worked on her present for Steffi while she was here a couple weeks ago. I took the left over fabric and cut it in 2.5" squares. I paired it with some grey fabric and voila...


... another pillow! :-)

It has a simple envelope back. 

I put it in a box and sent it up to her! She loved her surprise package! 

Pillows are so addicting and fast! I keep on making them. Since I don't have much room on our sofas anymore, I will have to gift them! 

Take care,
Me

26 October 2011

Cheap Pillow Forms

I love pillows. But pillows are expensive. Now that I sew I just see a pillow somewhere and make it myself instead of spending $40 on a pillow case. But I still needed the pillow forms. I bought those online for about $4 - $8 each. Not exactly cheap and not always available in the size I needed.

 So I decided to make them myself as well! I bought polyester fiber fill bags from the Arts and Crafts store in Stuttgart. I paid about $6 per bag. If they had any (and they rarely did!) I needed to buy them by the box with 6 bags per box. Those bags wouldn't last very long! I would end up paying about $3 - $5 per pillow form in the size I wanted. 

But I knew I could do better! One day I had an epiphany as I was buying some pillows for our guest bedroom. Why not cut those open and use the fill for my pillow forms? Yup, that's exactly what I did!

I bought one cheap pillow for $3. I cut it open and made 2 custom size pillow forms out of it. This means that I end up paying $1.50 for one pillow form. I don't think I can get that any cheaper :-)


Take care,
Me

30 September 2011

Another Quilt

I bought this fabric layer cake "Central Park" from Kate Spain from the Arts and Crafts store in Stuttgart the last time we were up there. I loved the colors in it and didn't have the heart to cut it up. So I decided that I would make a "Snowball" quilt. I used a soft grey to complement the colors in the fabric. I am thinking of gifting this to our foster niece on Christmas...

And here it is:


I think that I might need to add some quilting in the middle of each block... what do you think?

And here is the back:


As I was cleaning up after myself, I came across the cut of corners of the snow ball blocks. They were just too cute. So I started to play with them and came up with another wallhanging:


It is now hanging above our guest bed. I

I guess you could call this a "trash to treasure" quilt :-)

Take care,
Me


29 August 2011

Back to School - Book Cover Tutorial


Your wish is my command...even if I am a bit late :-)

-------------------------------

Choose two fabric pieces. You’ll also need a 13” piece of elastic, 
and matching thread. ( I used contrasting colored thread so you can see 
a.) what I am talking about  and 
b.) my horrible stitching..

Measure width of book and add 0.5 seam allowance + 7” for the flap. 
In my case I ended up with the following: 18.75 + 0.5 + 7 = 26.25


Measure the height of your book and add 1”. 
In my case I ended up with 11.25 + 1 = 12.25


 Cut a piece in accordance with your 
measurements out of each of your fabrics. 
Mine is 26.25”x12.25”. 
Put one piece of fabric with the right side facing up down on your table. 
Measure 3” from the right hand side. 
Place your elastic there and pin it down.


      Place your second piece of fabric with the right side 
facing down on top of your first fabric. 
Pin it in place. 
I marked a six inch gap with double needles. 
This won’t be sewn because it is your opening through 
which you are turning your fabric right side out.


 Sew around all sides with a ¼” seam allowance.
 (you should have a sewing foot for that!)
 Don’t forget to leave that 6” gap open.


Take your needles out and clip your corners
 but be careful not to cut your seam.


Turn it inside out and iron it. 
You can use scissors or a pencil to carefully poke out your corners.

Sew your opening close with a 1/8” seam.


      Pull the right flap in and measure it so it is 3.5”. 
Pin it down ( I also iron the side so I have a nice flat crease!) 
and sew it down with a 1/8” seam.


Don’t forget to pull the elastic out of place!


Try it on your book.  Hopefully it fits!

Pull the other side in tight. Hold it / Pin it down and pull the book back out.


Sew that flap down as well.

Put it back on your book and enjoy! 


Let me know if you run into a problem or if something is confusing. :-)

Take care,
Me

23 August 2011

Back to School - Binder Cover and Book Covers


P started middle school last year. She had to have a 3" binder for all her classes. She wasn't very gentle with that binder so after using that binder for about 6 weeks it was trashed! It ripped in the folds of the spine! I had to pay $15 for another one. We couldn't find a cover which I hoped would protect the binder from some of the abuse. But heck, I can sew and make my own! She chose some fabrics and I this is what I came up with:


Three velcro tabs which would help keep the binder close:


And a pencil holder:


The binder still took a lot of abuse but at least this time it lasted the entire school year! 


For the upcoming school year, P chose this funny dog print:


They made me smile every time I looked at them as I was sewing up the cover! Here is a closer look at the fabric:


P wanted only one velcro tab this time:


And she wanted a pencil holder that would close with velcro as well:


Also, last year, our school decided that it was a must for all students to cover their books. We looked at all the options available to us. We could cover it with a plastic foil, paper or even buy a fabric cover. All of those options were very boring to P! So she asked me if I could make some for her... and I did!

Here they are:


As you can see, I placed an elastic band in the back which folds to the front to keep the book shut when you move from class to class!


They held up really well! I washed them once through out the year but that was it! 

So this year, she choose a hidden frog fabric for science, flowers for math, and the American stars for History. 


I am reusing the covers from last year for our set of school books at home. I got those used for $7 - $10 from Amazon. This way P doesn't have to bring the books home for home work. 

Do you have to cover your kids binders and books?

Take care,
Me

02 August 2011

1 Bag, 2 Bags!


P and I were out shopping recently. Well, not really... We were waiting for M to get done talking to a friend, and we wandered off in to the VAT office with all its wonderful little knick-knacks. We can always find stuff that needs a good home! One of them was this pink messenger bag! 


P had to have it. I know that she has at least 10 bags at home but she had very good arguments if I may say that in my defense! It was on sale (50% off) and it was the day before her b-day... I was sold!

P wanted it embroidered and M told her that she wasn't allowed to use it until it was done. He is so sneaky! He knew that I would have pushed it all the way down on my to-do list otherwise. Well, after we came home, P nagged me! Every five minutes she would ask me if I could get it done now because she wanted to take it on her shopping trip with her friend tomorrow. So we compromise: instead of embroidery, I would machine applique something!

She wanted her initials and the peace sign. So I typed her initials in Word and googled the peace sign. I printed it out, traced it on Pellon and ironed it on the bag. I sewed around the individual appliques so that they wouldn't come off after a while! 


Don't look too closely because it is a bit crooked! But she loves it and that's all that matters!


This was a fund and quick little project! The VAT store had another messenger bag in yellow. Maybe I need to get that...

This reminds me, I did buy another bag (the coolest and biggest shopping bag) in the VAT store but that is another story!

Take care,
Me

P.S. Bags are kind of tough to photograph by yourself! M was nice enough to hold the bag up. I was thinking about asking him to model it... but that would have been pushing my luck! He was already grumpy because he had to interrupt his AFN show! :-)

30 July 2011

One-Yard Wonder - Mailbag Picket Duo


I am still waiting on that darn batting! I am going to have to contact the company and ask them if they could trace the package. I will never be able to finish all those quilts at the rate they are shipping! So what to do? Maybe a trip up to Stuttgart to pick up a bit of batting?

I have to keep myself busy with another One-Yard Wonder project... I don't know about you but I can never have enough storage so this time around I decided that I needed the Mailbag Picket Duo!


I used the same fabric as I used for the curtains in the study for the exterior bag and some plain white cotton for the lining.  It looks perfect!


I don't like how the bags were hung up in the book. So I used small curtain rods instead. I might still put a little snap button in the middle of the bag so they don't gape open like in the book after using it! But it is a quick project, and if you are in need of little pockets, I would definitely recommend those!

I still have a little bit left over of the fabric. I might use it for the computer table cloth...

Take care,
Me

28 July 2011

One-Yard Wonders - Jewelry Roll


I've been working on so many quilts! I really enjoy making them but it usually takes a long time until you can "see" the finished product. So, since I am still waiting for my batting to arrive, I thought that I should pull out my One-Yard Wonders book and choose something out of there.

I remembered that I saw the jewelry roll back in May on the Pink Chalk Studios blog. I guess the bright colors just really made it memorable since I couldn't even remember it being in the book :-)

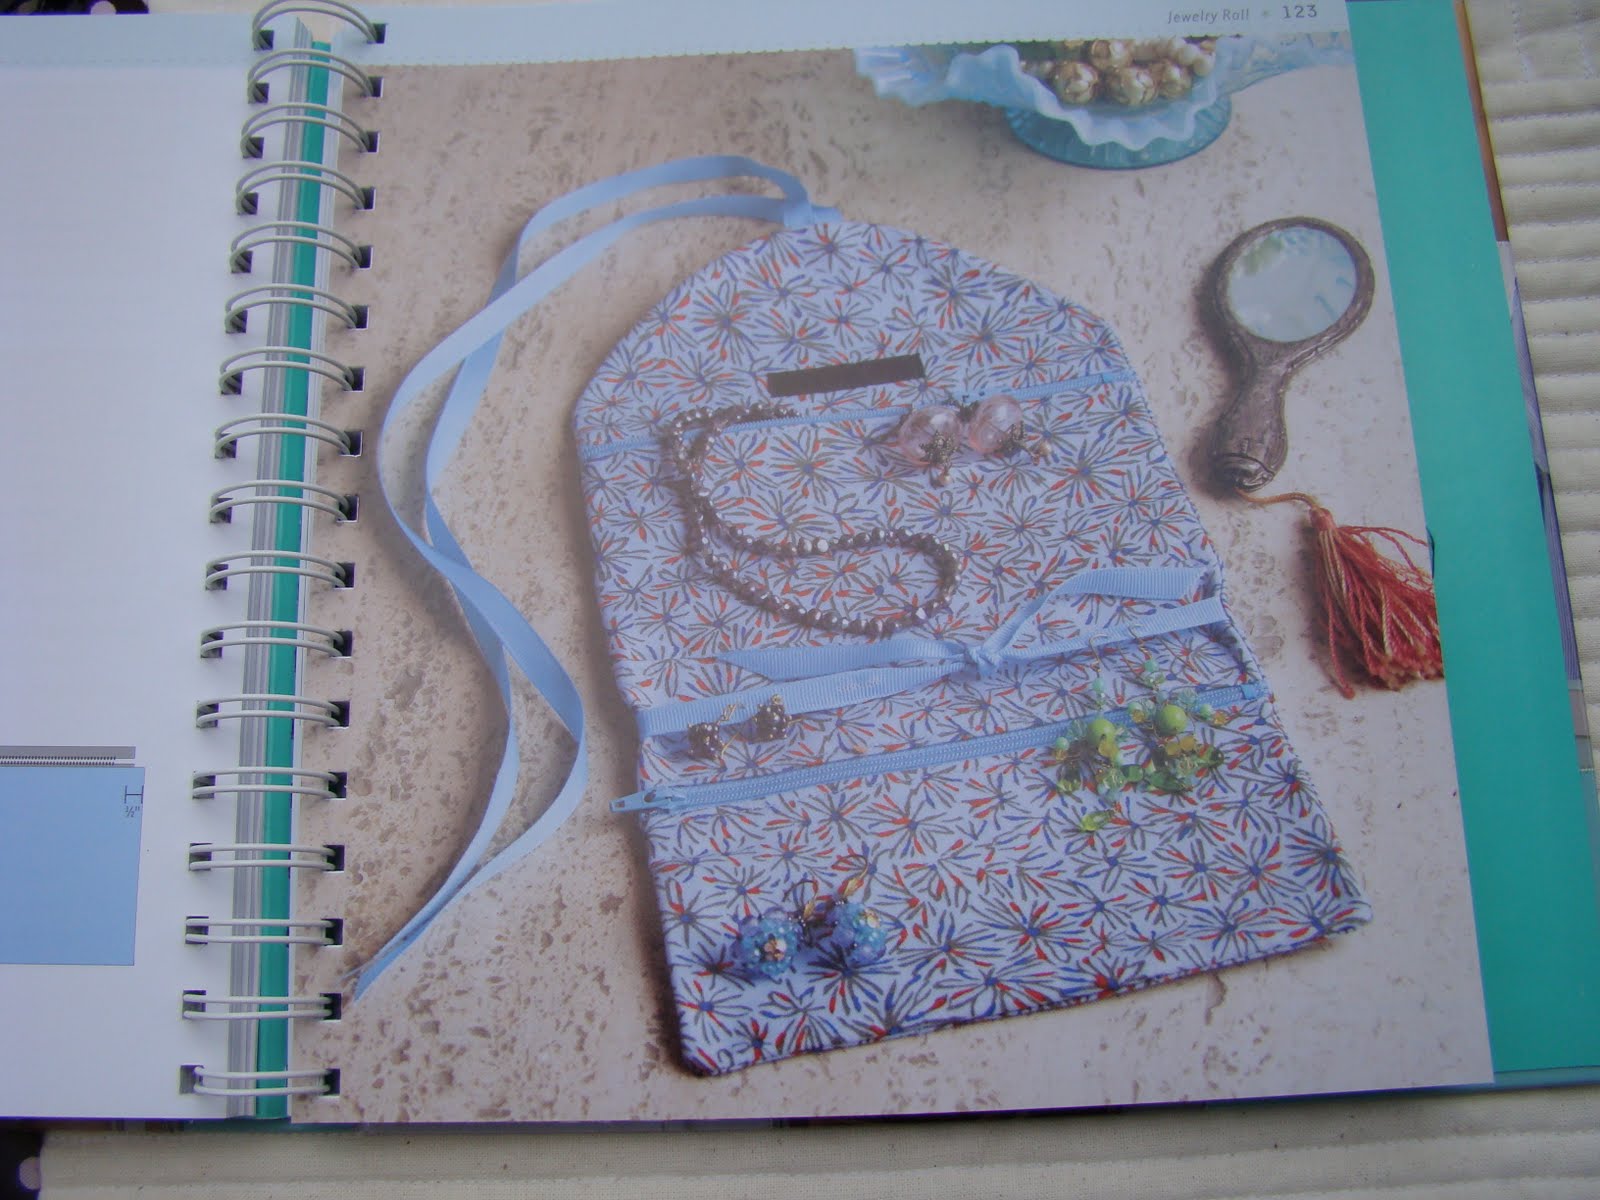
Here is a picture of how it looked in the book:


I checked if I had the required materials (thank goodness!) and got started on it right away. The project itself was fairly easy. I mean, yes, there are the time consuming things like working with pattern pieces, ironing on the interface pieces. But the directions are pretty clear. It took me about 2.5 hours from start to finish. And this is what I ended up with:


I will probably make a couple as presents. But I will have to change a couple of things:

1. I really don't like the tied ring strings (not tied in the picture above). I think that the ribbon will start to show a lot of wear after repeated use. I have to think of something better and maybe easier than the constant tying next time...

2. I also don't like the overall ribbon closure. Yes, it looks fancy but again, it will probably show a lot of wear soon! Maybe a velcro closure?

Do you like it?

Take care,
Me


23 July 2011

Left Overs


I had a few small strips, muslin and binding left over after I finished the brick quilt "Walking on Roses". I sure was tempted to throw them away. But something inside me just cringes whenever I put a usable (at least to me!) piece of fabric in the trash.

So what do do? Place mats of course! 


You can never have too many! Or in our case those are actually our first ones. I sewed the strips together and cut them into  4  4.5"x14" long  pieces. I cut the muslin so that I would have 3.5"x14" on one side and 13.5x14" on the other side of each pieced strip. 

I think I must have spent about 1 hour per placemat (piecing and quilting) and another 45 minutes to attach the binding by hand. You can sew the binding on by machine but I just don't like how that looks!

Here is the front:


And here is the back:


The only caveat is that the place mats are so light in color. I am pretty sure that they will be covered in food stains in no time. But then I can always make more with all the other scraps I will accumulate :-)

Take care,
Me